
3D Scanning – A quick overview
If you’re wondering how 3D scanning fits into the world of 3D printing, you’re in the right place! In essence, 3D scanning is a process that creates a digital three-dimensional model of a physical object. This digital model can then be manipulated and reproduced using a 3D printer, making 3D scanning a crucial step in the 3D printing process.
The magic of 3D scanning lies in its use of lasers, cameras, and sensors to capture the shape and texture of an object. This data is then converted into a digital file that can be used in 3D printing. This process allows for accurate and detailed digital representations of physical objects, capturing intricate details, textures, and shapes with precision. Whether you’re an artist looking to create a detailed sculpture or an engineer needing to reverse engineer a part, 3D scanning provides the data you need for 3D printing.
3D scanning significantly enhances the 3D printing process. Instead of manually measuring and creating prototypes, 3D scanning enables you to quickly and accurately replicate an object in a virtual environment. This can save you time, money, and resources in the long run, making your 3D printing process more efficient.
Moreover, 3D scanning opens a world of possibilities for customization in 3D printing. Imagine being able to scan your own body and have a perfectly fitting piece of clothing or a personalized accessory created just for you. With 3D scanning, this is no longer just a dream but a reality in the world of 3D printing.
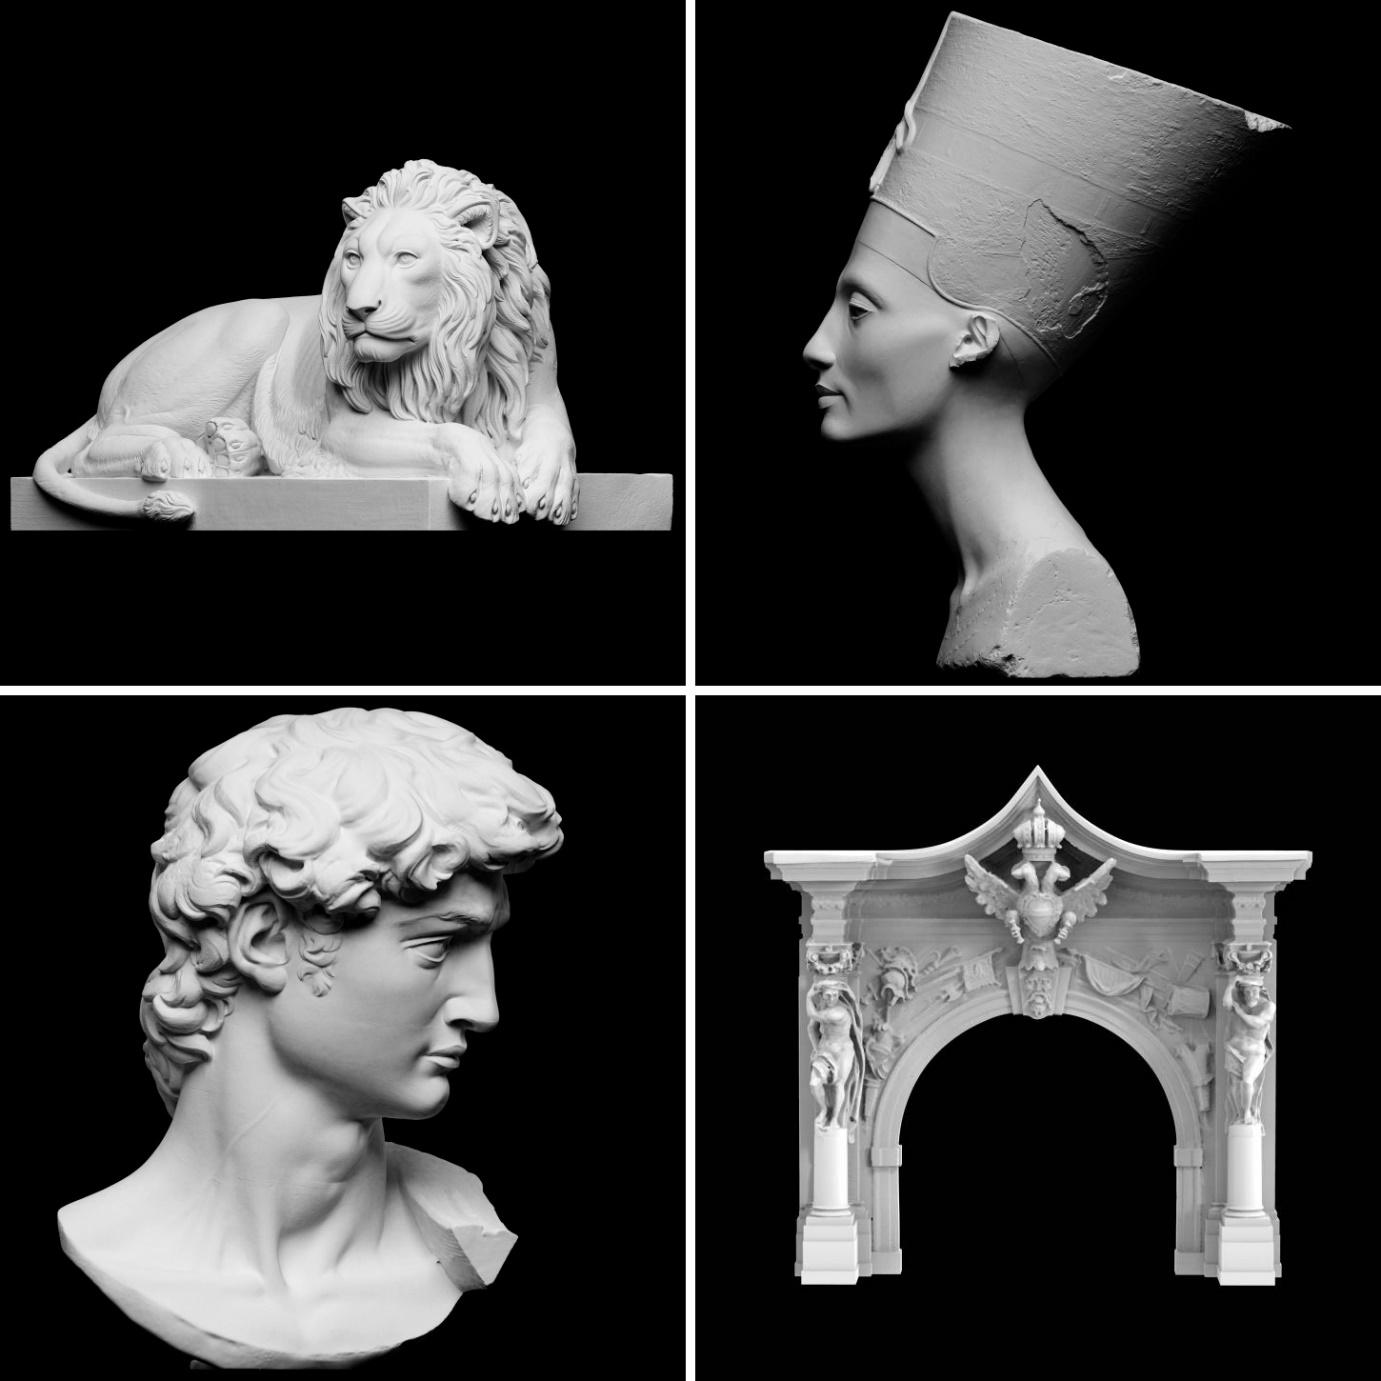
3D scanning also plays a vital role in preserving our cultural heritage. Archaeologists and historians can use 3D scanning techniques to capture and preserve ancient artifacts, architecture, and cultural sites. These digital models can then be reproduced using 3D printers, allowing us to hold a piece of history in our hands.
Now that you understand the importance of 3D scanning in 3D printing, let’s move on to a step-by-step guide to get started with 3D scanning for 3D printing.
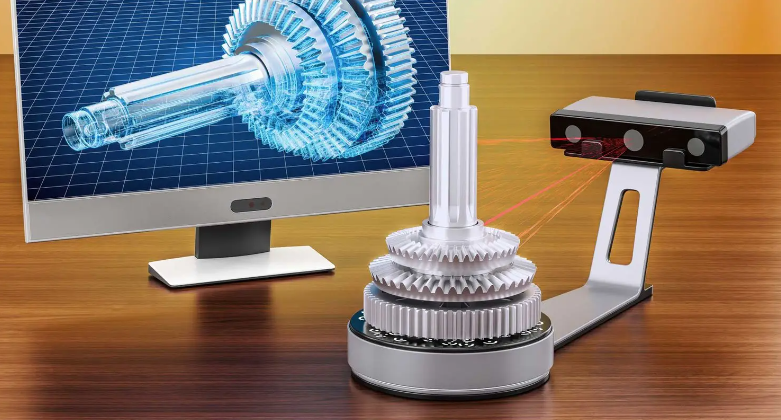
Step 1: Choose the Right Scanner
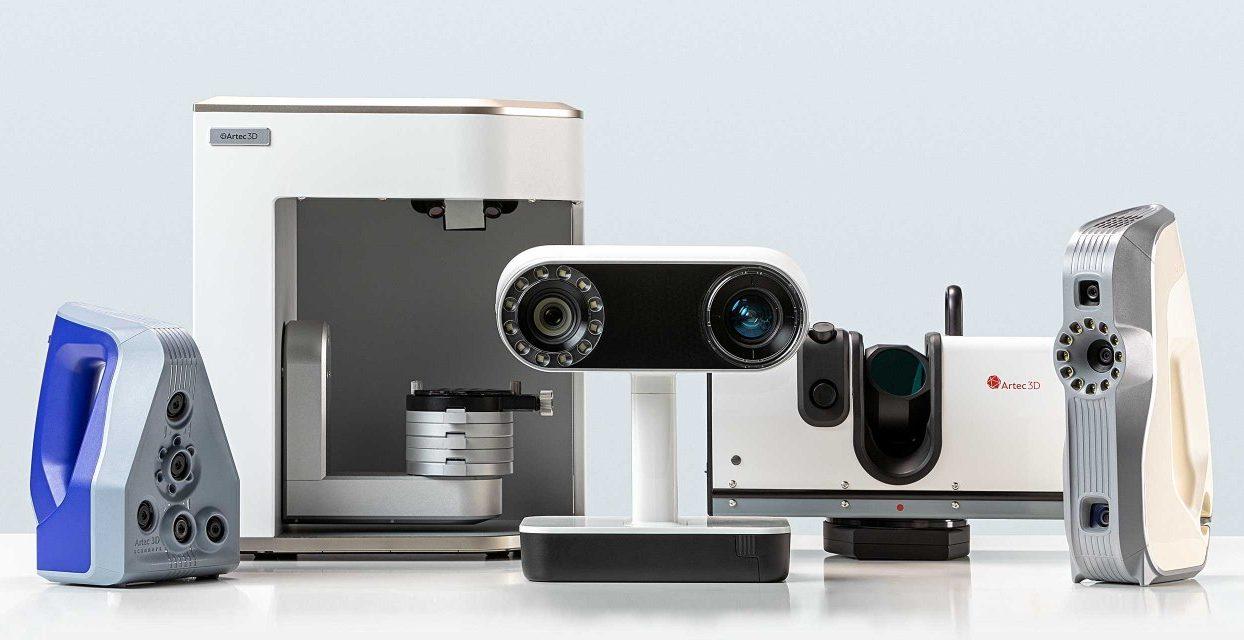
The first step in the process is to select a 3D scanner that suits your needs. The choice of scanner will depend on the complexity of the objects you plan to print, their size, and the level of detail required. The scanner’s role is to capture the geometry and texture of the object, which will be used as a blueprint for the 3D printer.
Step 2: Prepare your Object
Before scanning, ensure the object is clean and free from dust or debris. This will ensure a more accurate scan, which is crucial for a successful 3D print. The better the quality of the scan, the better the quality of the print.
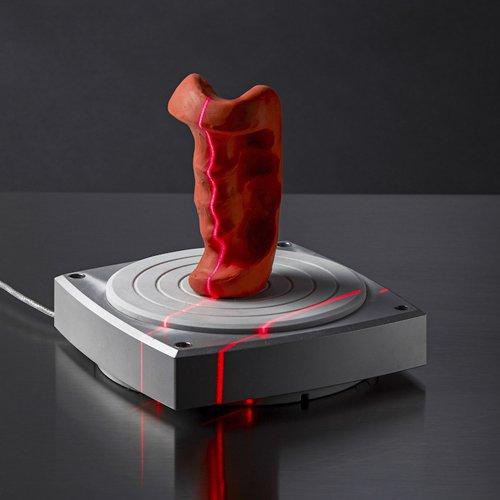
Step 3: Scanning your object
During the scanning process, the scanner captures the object from various angles, creating a point cloud or a set of data points that represent the object’s shape. This data is essential for the 3D printer, as it uses this information to understand the structure of the object it needs to print.
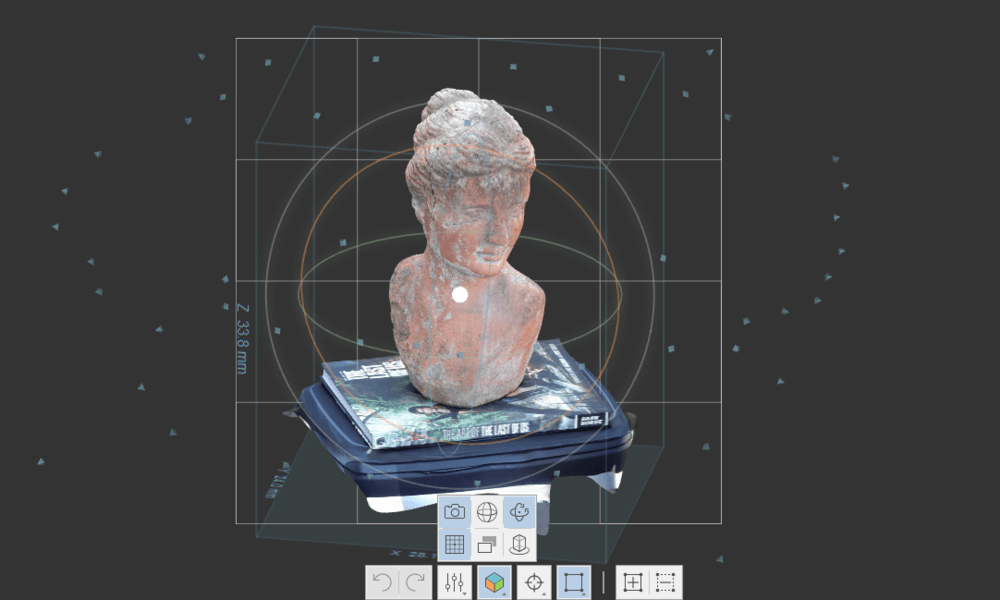
Step 4: Processing Your Scan.
- MeshLab: This is an open-source tool used for processing and editing 3D triangular meshes, a common output of 3D scans. It offers a range of features for editing, cleaning, healing, inspecting, rendering, and converting these meshes, making it a versatile tool for preparing your 3D model for printing.
- Meshmixer: This is another powerful tool for working with 3D meshes. It’s particularly useful for ‘mixing’ different meshes together, hence the name. It also offers features for smoothing surfaces, adding details, and even sculpting 3D models, allowing you to refine your scan data before printing.
- Blender: While primarily a 3D animation suite, Blender also offers robust tools for editing and refining 3D models. It’s open-source and has a strong community, meaning there are plenty of tutorials and resources available to help you get the most out of the software.
- Autodesk Netfabb: This software is specifically designed for 3D printing. It offers tools for repairing and optimizing 3D models, preparing them for printing, and even simulating the printing process to identify potential issues before you start the actual print.
- Simplify3D: This is a commercial slicer and 3D printing software. It translates the 3D models into instructions that the 3D printer understands. It also allows you to customize print settings for the best quality and provides tools for editing and repairing 3D models.
Remember, the goal of processing your scan is to create a clean, printable 3D model. This means removing any noise or errors from the scan data, smoothing surfaces, and ensuring the model is ‘watertight’ – that is, it has no holes or gaps where the printer could potentially extrude material into empty space. These software tools can help you achieve a high-quality 3D model ready for printing.
Once you have completed the scanning process, you will have a set of raw data points or a point cloud. This data needs to be processed using specialized software to create a 3D model. Depending on the complexity of the object and the level of detail required, this step may take some time.
Step 5: Export and Use
Once you are satisfied with the final 3D model, you can export it in a format suitable for your 3D printer. This could be a file type commonly used in 3D printing, such as STL or OBJ. The 3D printer then reads this file, layer by layer, to create the physical object. The printer uses the data from the 3D model to determine where to deposit material, building the object from the ground up.
By understanding and following these steps, you can see how 3D scanning and 3D printing work together to create accurate, high-quality reproductions of physical objects. The 3D scanner provides the detailed data needed for the 3D printer to replicate the object, making these two technologies a powerful combination
Wrapping it up: go out there and start 3D scanning!
Now that you have all the necessary knowledge and tools in your arsenal, it’s time to put them to good use! With your newfound understanding of lighting, stability, overlapping shots, and cleaning techniques, you’re well-equipped to start 3D scanning like a pro.
So, go out there and find objects that pique your interest. It could be anything from a delicate seashell to a nostalgic childhood toy. The possibilities are endless! Set up your workstation, ensure you have proper lighting, and begin capturing the intricate details and textures of your chosen object.
Remember, experimentation is key. Don’t be discouraged if your first few scans don’t turn out exactly as you envisioned. Rome wasn’t built in a day, and mastering 3D scanning takes time and practice. Keep tweaking your settings, adjusting your angles, and exploring different techniques until you find your rhythm.
So, what are you waiting for? Get scanning and have fun on your 3D scanning journey!